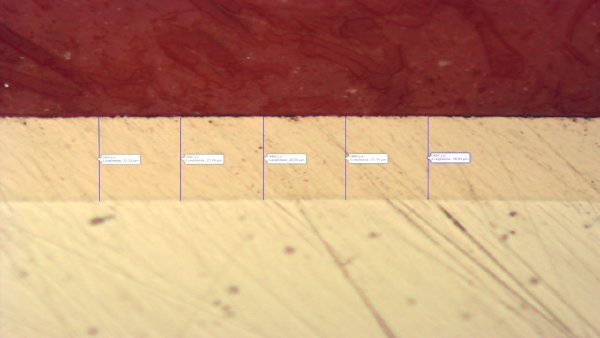
With the online calculator presented below, you can determine the dimensional
tolerances of shafts and holes.
This tool takes into consideration the coatings applied to mechanical parts,
allowing you to calculate the dimensional tolerances needed in mechanical
pre-treatment machining, in order to ensure the correct tolerance of the
finished piece after surface treatment.
Formulas for tolerance calculation
Electroless Nickel Plating
Regarding the electroless nickel plating, the treatment
thickness is all oversize. The dimensions will need to be recalculated
considering a diametrical increase equal to twice the thickness.
SHAFT
Tolerance+machining = Tolerance+final – 2 × Thicknessmax
Tolerance–machining = Tolerance–final – 2 × Thicknessmin
HOLE
Tolerance+machining = Tolerance+final + 2 × Thicknessmin
Tolerance–machining = Tolerance–final + 2 × Thicknessmax
Aluminum Anodizing
Regarding the anodizing, the treatment increases by 30%
outward and 70% inward from the surface. The dimensions will need to be
recalculated considering a diametrical increase equal to 0.6 times the
thickness.
SHAFT
Tolerance+machining = Tolerance+final – 0.6 × Thicknessmax
Tolerance–machining = Tolerance–final – 0.6 × Thicknessmin
HOLE
Tolerance+machining = Tolerance+final + 0.6 × Thicknessmin
Tolerance–machining = Tolerance–final + 0.6 × Thicknessmax
Aluminum Hard Anodizing
Regarding the hard anodizing, the treatment increases by 50%
outward and 50% inward from the surface. The dimensions will need to be
recalculated considering a diametrical increase equal to the thickness.
SHAFT
Tolerance+machining = Tolerance+final – Thicknessmax
Tolerance–machining = Tolerance–final – Thicknessmin
HOLE
Tolerance+machining = Tolerance+final + Thicknessmin
Tolerance–machining = Tolerance–final + Thicknessmax
Ing. Giacomo Bordiga
Quality Manager & Materials Engineer
Materials Engineer with over 15 years of experience in metal surface treatments. Specialized in electroless nickel plating, anodizing and quality management systems ISO 9001 and IATF 16949.


